Sky Tracking
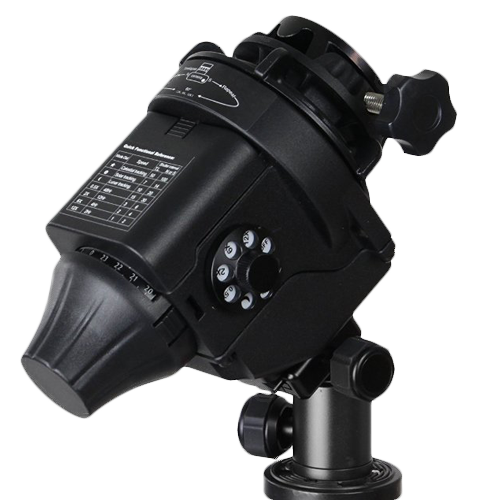
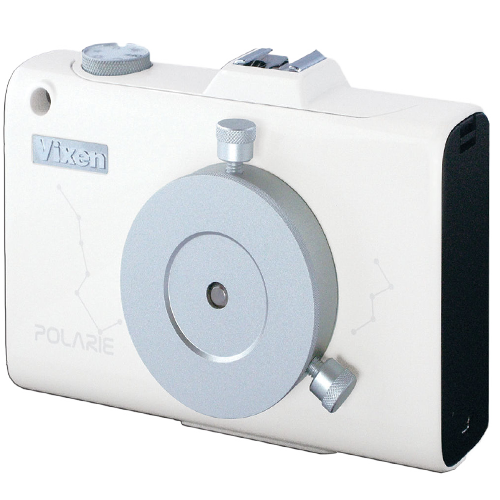 Polarie
Sky trackers or equatorial mounts you simply align to the polar axis(north star in northern hemisphere), they then turn at the same speed as Earth's rotation to let you image the sky in amazing detail. These small portable ones are relatively cheap and get the job done. My pick is the Star Adventurer, though the other two above are good as well. They are all roughly the same price.
The Star Adventure has an 11lb payload rating compared to 7 on the other two. It also has an autoguider port neither of the other two have. It also has time lapse settings and doubles as a panning time-lapse head. It's slightly bigger but really just as portable more or less.
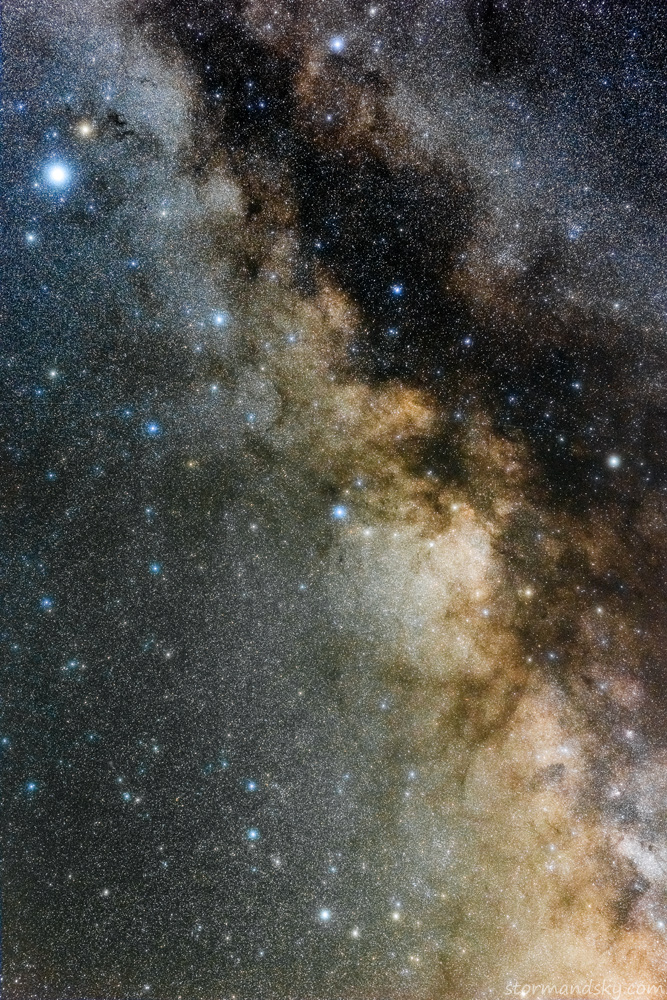
Above is a tracked shot from a Sigma 50mm Art on a full frame camera(roughly 30mm on a crop frame). The way tracking and stacking works means the camera hardly matters too. One can get as great of results with a crop sensor camera using one of these. Many think their gear isn't up to the task at getting great Milky Way shots, but really with a tracker and stacking a couple frames, it is.
Back to the trackers. The battery compartment on the Sky Tracker is a nightmare. It is 2x2 so you have to pull it out to put the back two batteries in. This plastic holder dangles from a wire. A wire which needs put bent up just right underneath it. Once you put the batteries in it and shove it back in, it's impossible to remove without a flathead screwdriver prying on the top of it. On an otherwise nicely built little tracker, it is a real head-scratcher how they decided to do it like they did. Surely room related but still. Also, the tracking with my full frame 6D and 135mm F2 on it had maybe 50% keepers. Plenty were doing an odd double star thing like it rocks on the gear teeth over an exposure(2-3 minutes). I learned about the Star Adventurer after just getting that, so it was an easy decision to trade. So far seems like this Star Adventurer is a way better option.
I never used the Polarie and can't say much. With it you do need to buy a separate polar scope that you don't with the other two. Both it and the Star Adventurer have the polar scope in the middle, where the ballhead and your camera would mount to. So once mounted you can't check it again without taking them back off. But at least with the Star Adventurer it doesn't seem to matter. With a solid tripod and the optional base wedge mount it is really solid.
When you order the Star Adventurer it doesn't come with the ballhead in the picture like above. You'd use your own and need two, because you also need one on the end so you can point the camera wherever you want. The lower ballhead is just used to mount on the tripod and point it up and side to side at the north star. But as I found out, that is a nightmare with a ballhead. Yeah you can get it rough for wider shots that will work fine. But if you plan to get a better polar alignment, I'd for sure pick up the optional Wedge Base mount instead of a ballhead.
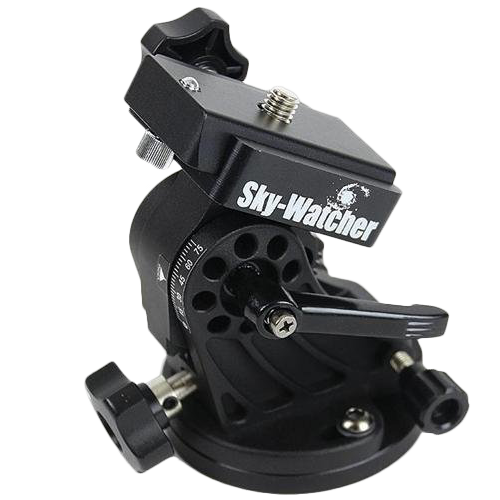
Here is the Star Adventurer Equatorial Wedge Base. It will get you polar aligned a thousand times better and easier than a ballhead will.
Crop of a shot tracked vs not tracked, from a really light polluted area. You can see how less bloated the stars are when tracked, as you can stop the lens down some. Also the vignetting fix from being able to stop down. When not tracking the stars are moving pixel to pixel fairly fast. They not only streak but fainter ones don't even get the chance to expose. So with tracking they are more pointed and more show up from having more time to expose over pixel locations. Just way more detail when tracking.
Once you do use a tracker, you really won't want to bother getting star shots without a tracker again. Just so much more potential using a simple tracker. This thing here takes no time to set up either.
My biggest desire in having one of these(and why not at $300-$400) is for getting the background Milky Way shot from various locations that I can then layer in the normal shot taken with the foreground. I will go to the location, get what I want for tracked shots of the sky, then run around and shoot the foreground I want.
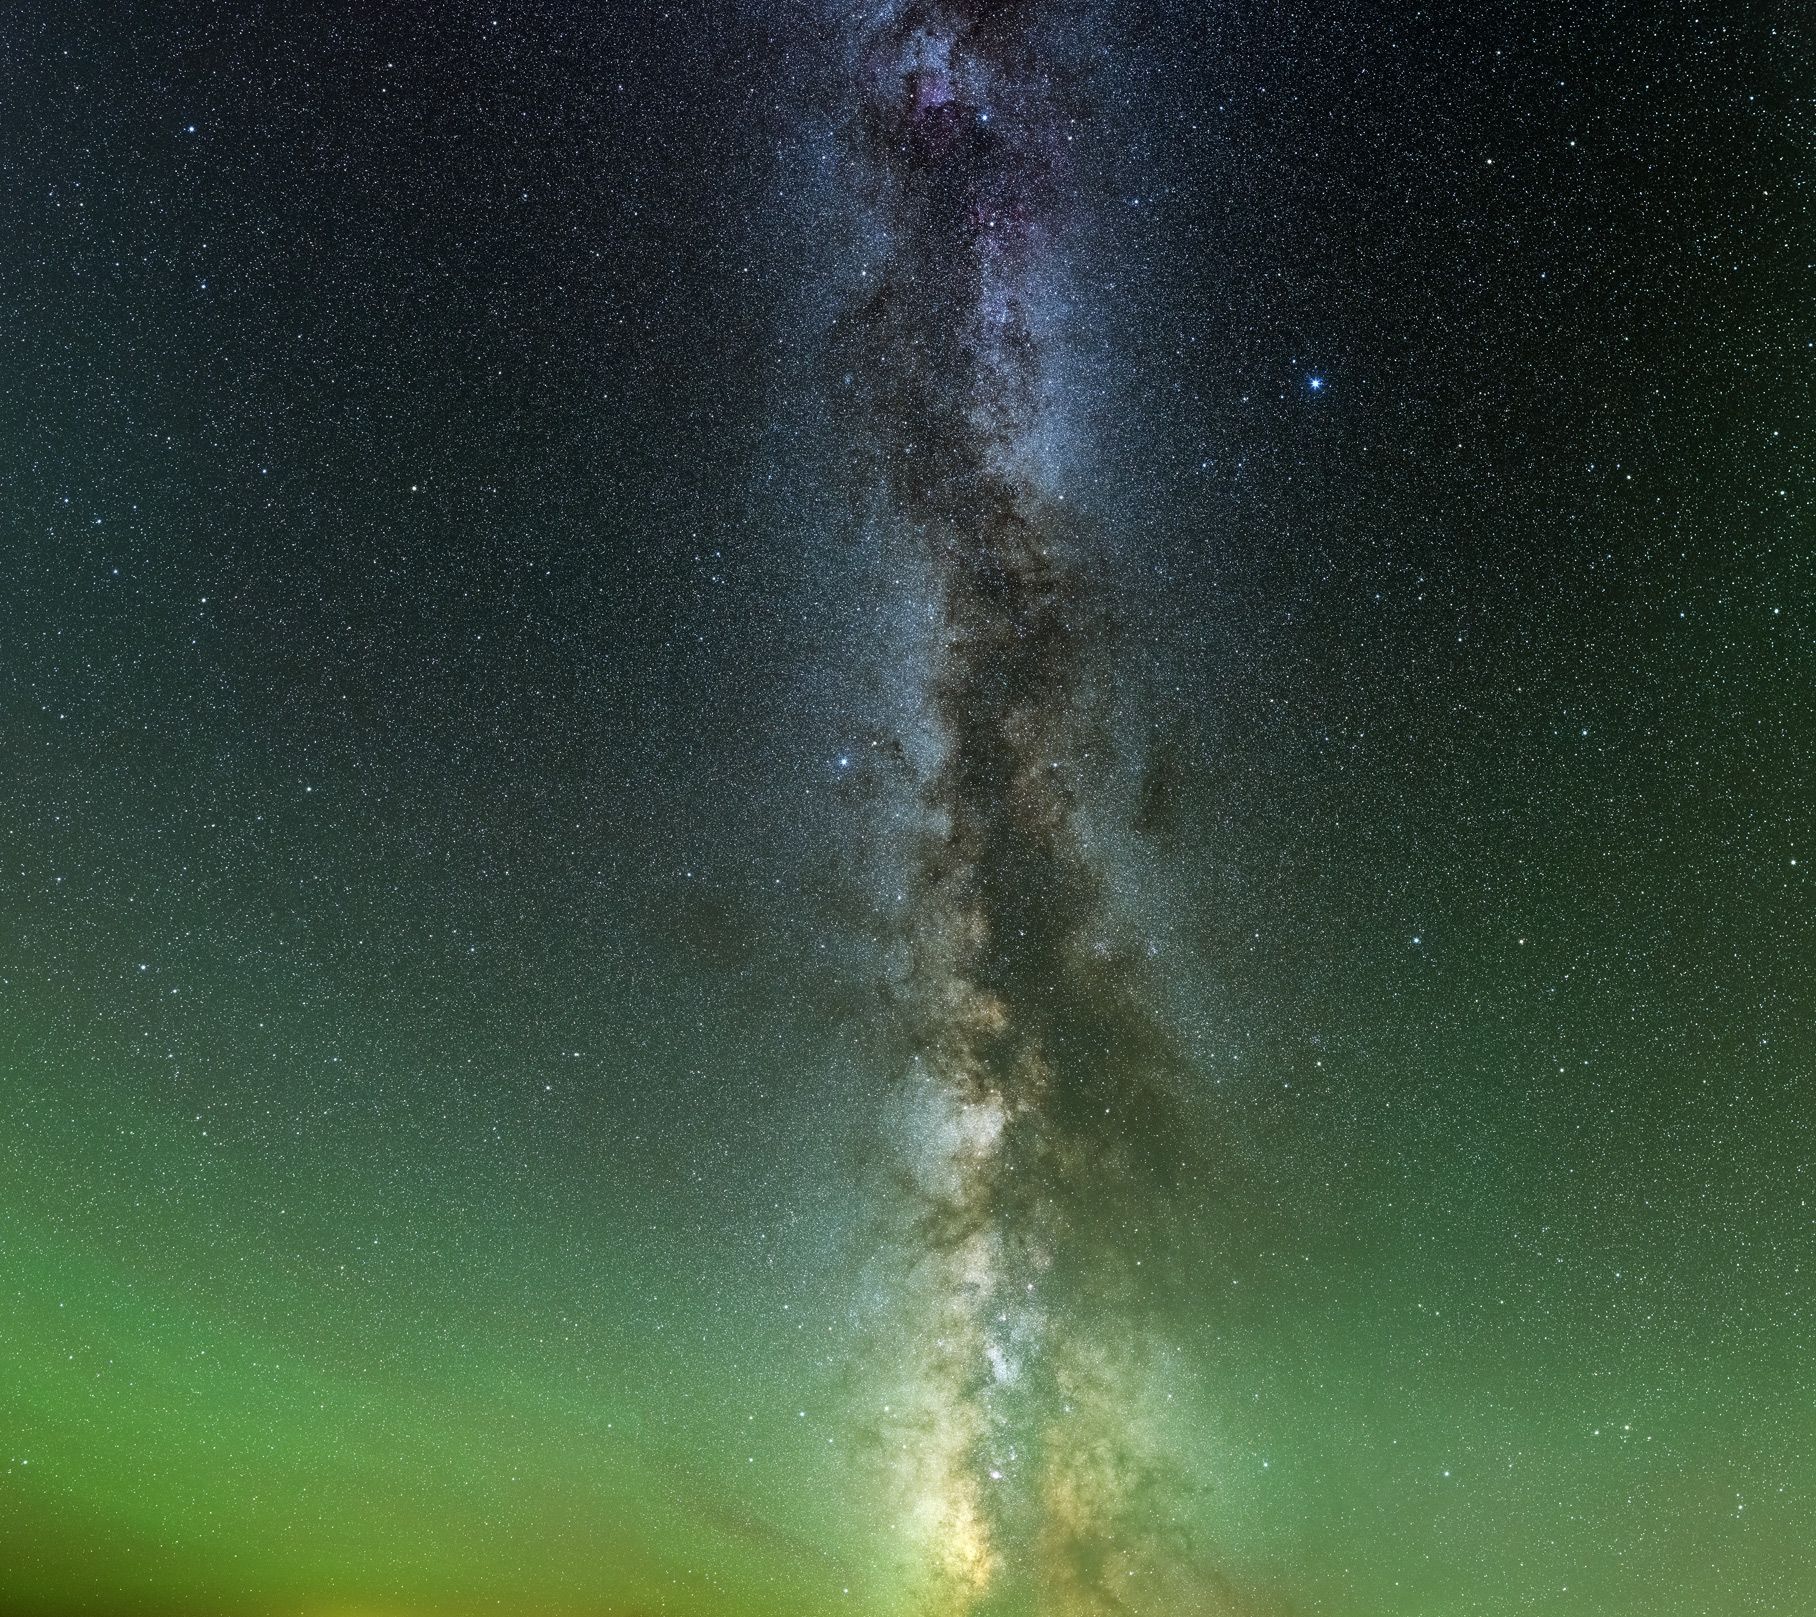
This above is actually 6 Samyang 24mm frames. The green is airglow. It is also 6 shots for each of those 6 areas. 6 shots each stacked reduces the noise. Think of noise as random. Well if you have 6 or whatever shots and you average them, then at each pixel location it takes the average light value. The resulting image is then just way smoother....less noise. This is what astrophotography is.
The shots were 1600 ISO, F4 for 2.5 minutes each. So 15 minutes of exposure for each 6 frames, or an hour total. I was just going for a rather large detailed shot of the Milky Way from the dark Badlands. One could just use say 14mm for a few frames like that too and be happy. My 14 was scratched up and I needed to use the 24. Plus my 24 is super sharp. Anyway, with a tracker you can do a lot and get tons of detail.
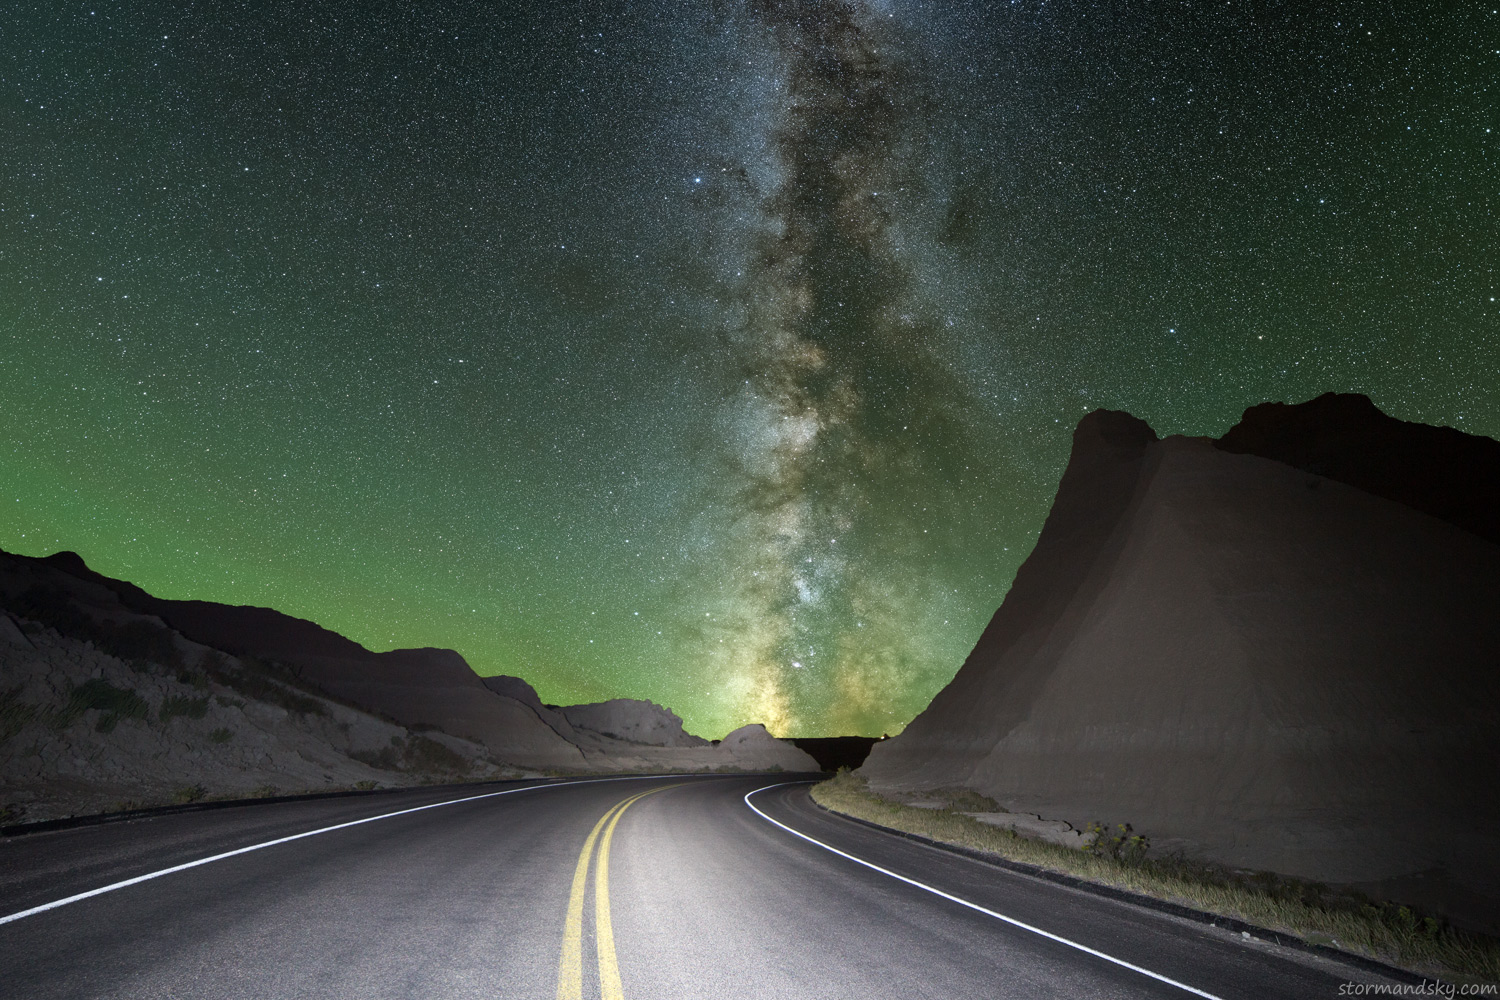
I then ran around and shot a few foregrounds. I'd use a high enough setting to get the Milky Way to show up somewhat, for later reference when putting in the good Milky Way tracked shot. The above foreground was taken with my Samyang 14mm and I then used the super big Milky Way renditions I got from that night to put where it was in the shot, just a way better image of it.
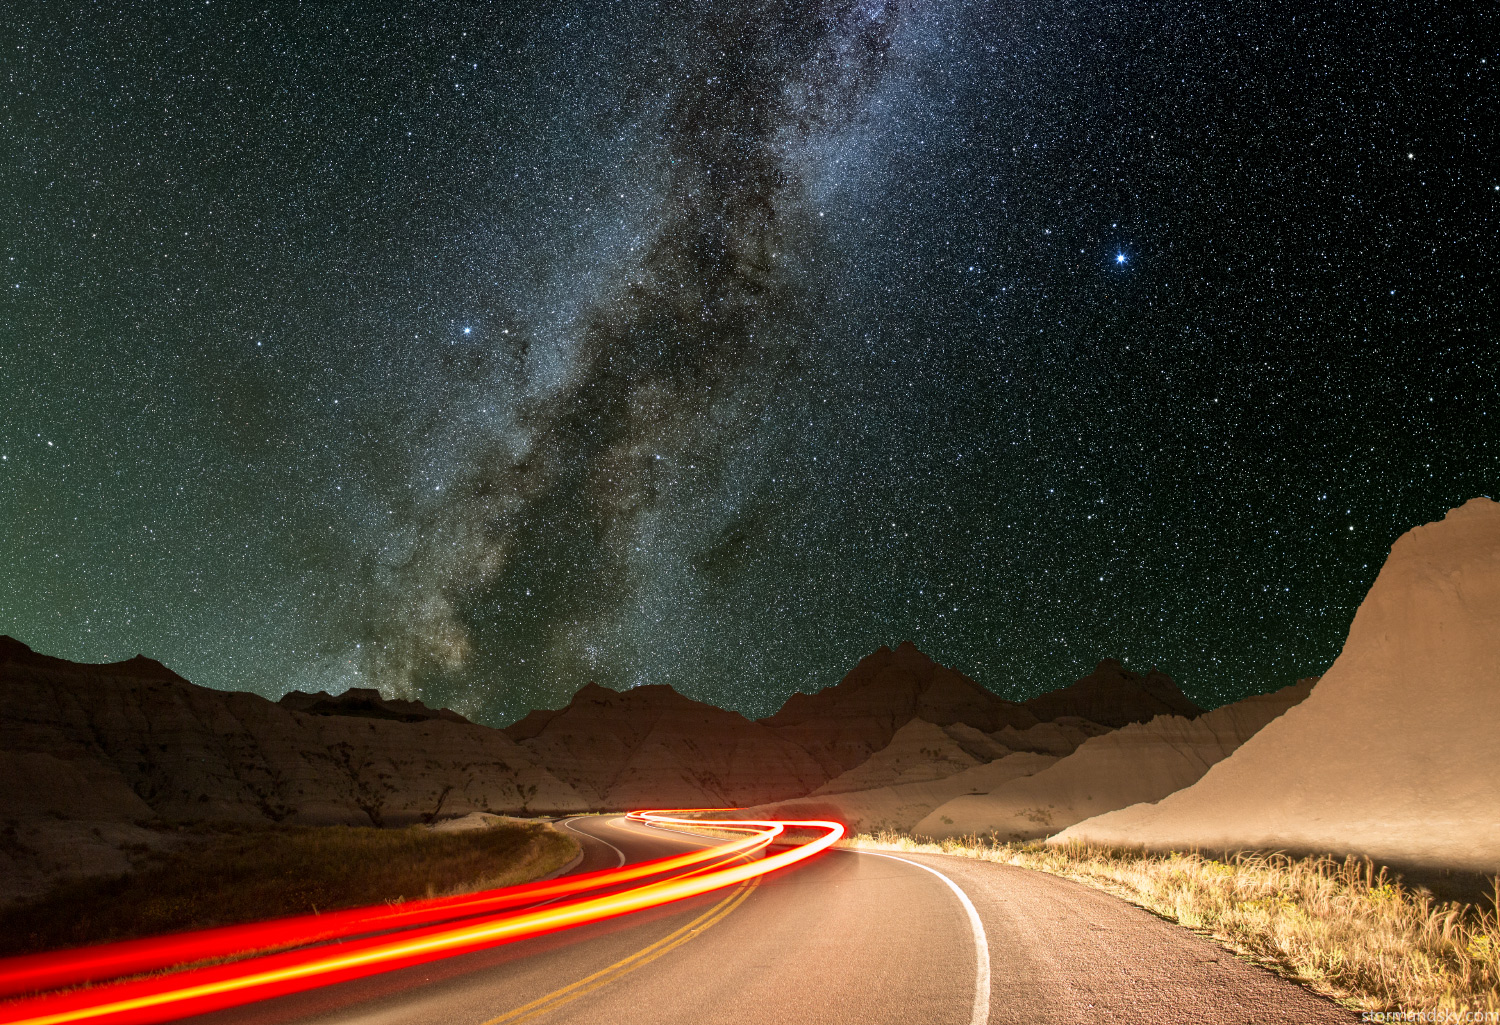
This was with my Samyang 24mm, again using a bright enough exposure during the foreground shot that I could see some of the Milky Way so I could line up my layered in version from tracking. I ran into a bit of a problem on that, as I didn't get wide enough on my Milky Way. By this time of the morning the Milky Way was really going down and tipped over. My tracked shots from earlier just weren't wide enough to layer in where the Milky Way was by now on some. It'd be much easier earlier in the year with the Milky Way rising after dark instead of starting to go down already in the Fall. That and well not spending an hour on 6x6 shots to get the tracked version.
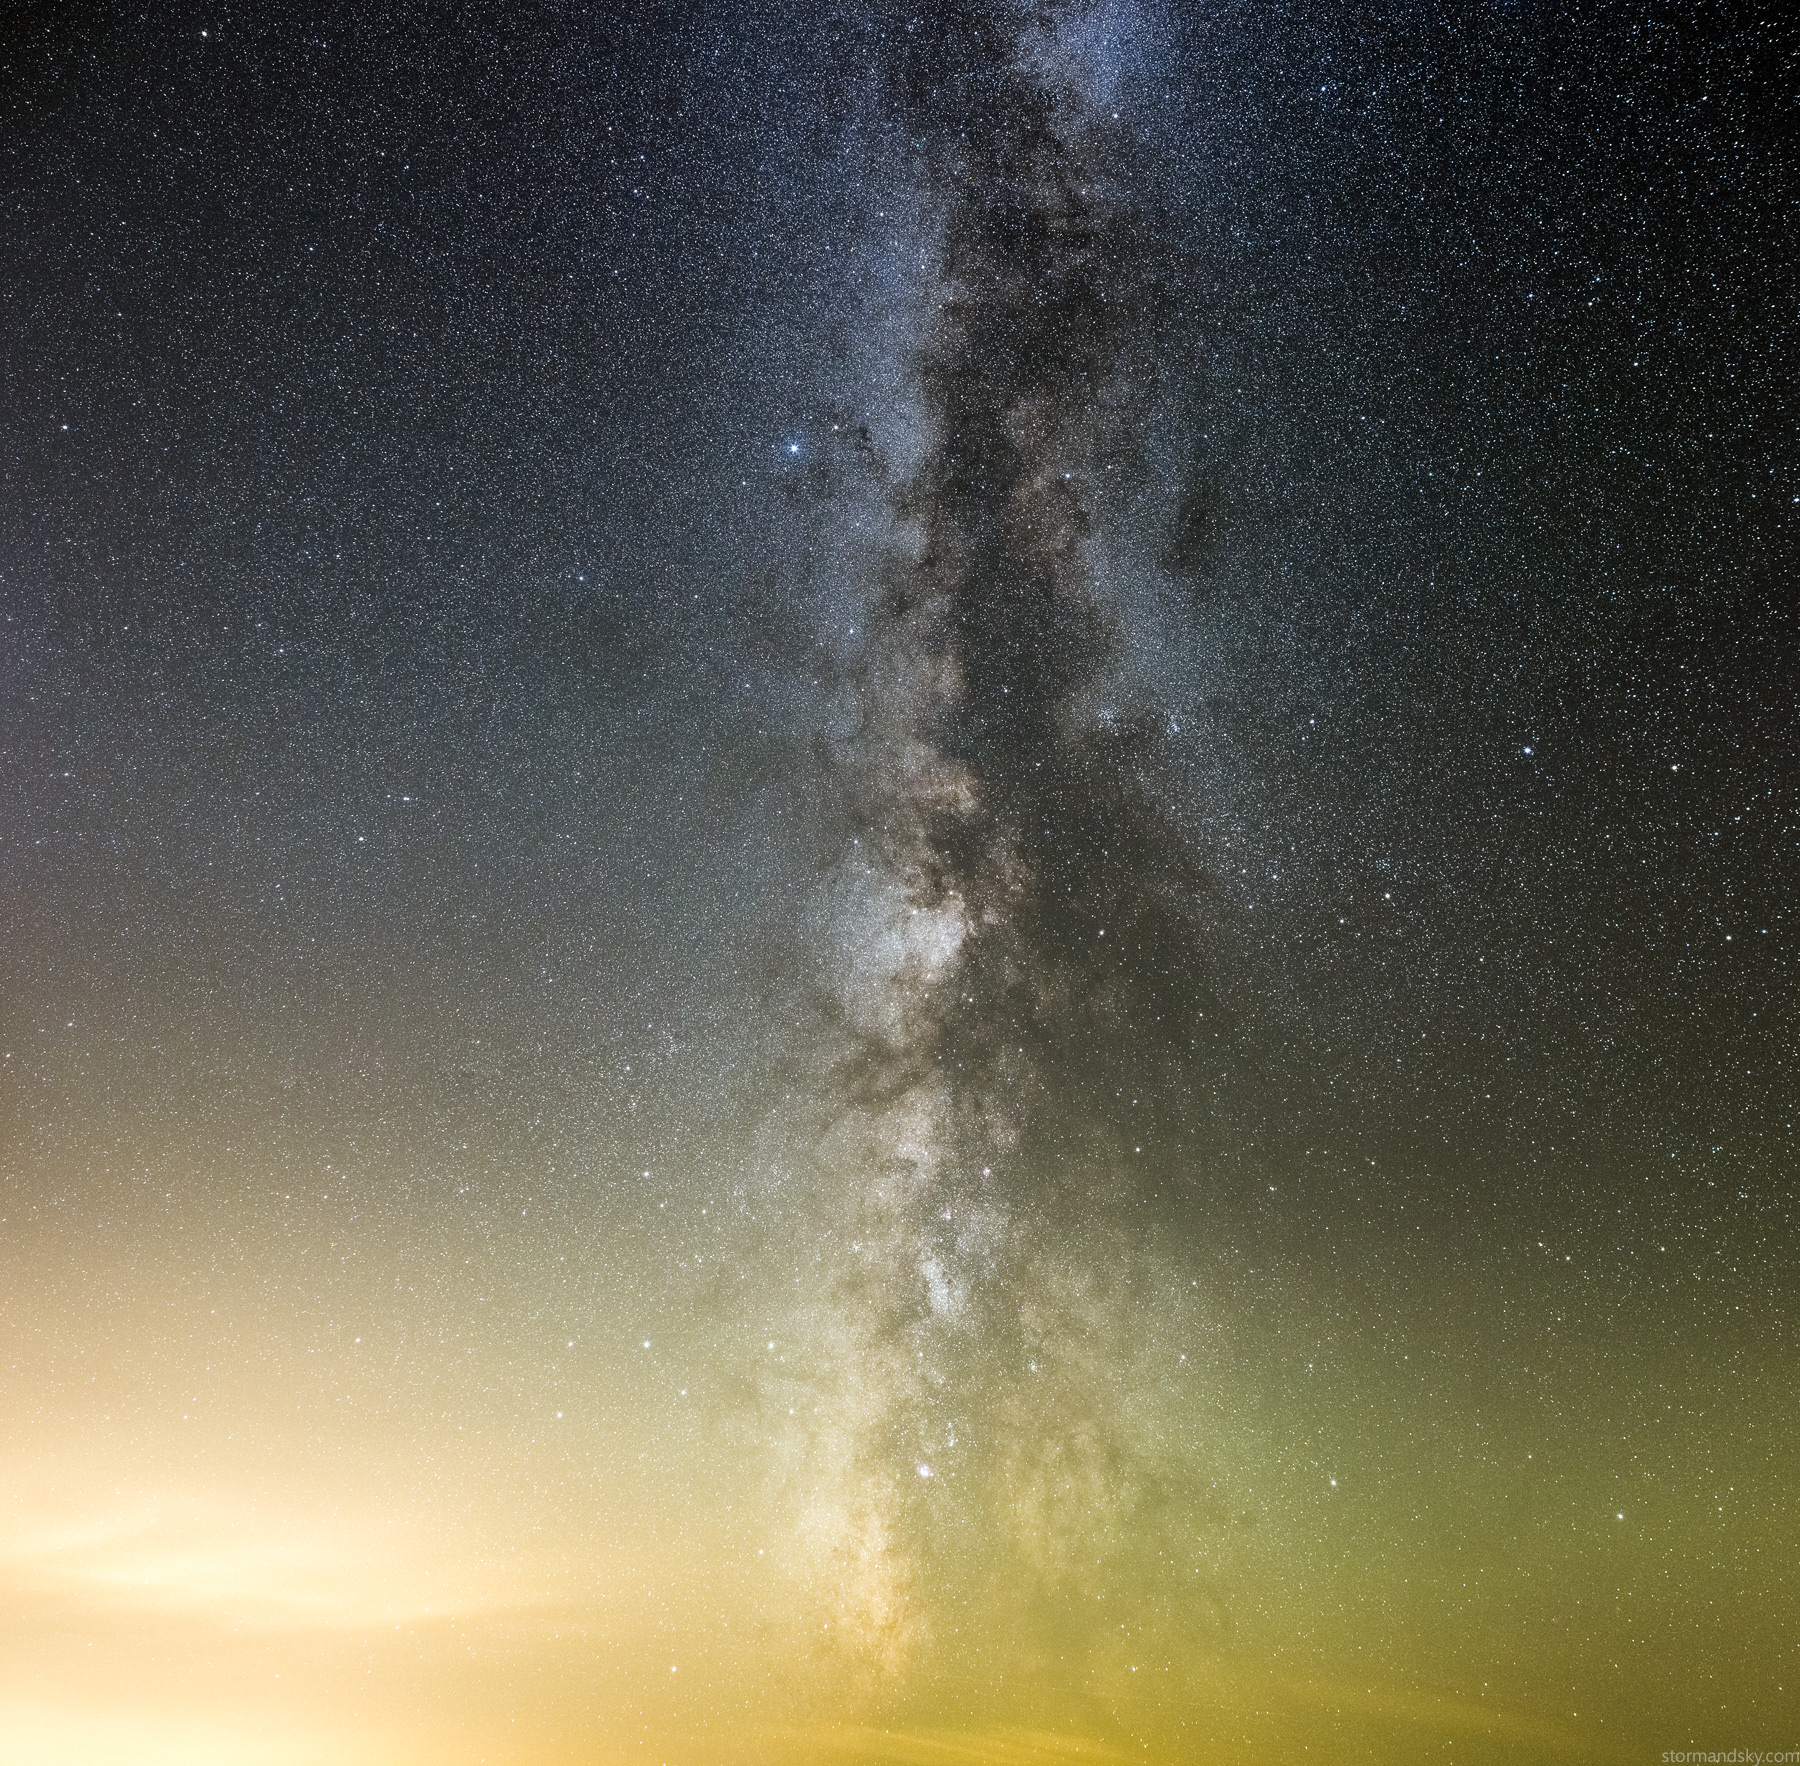
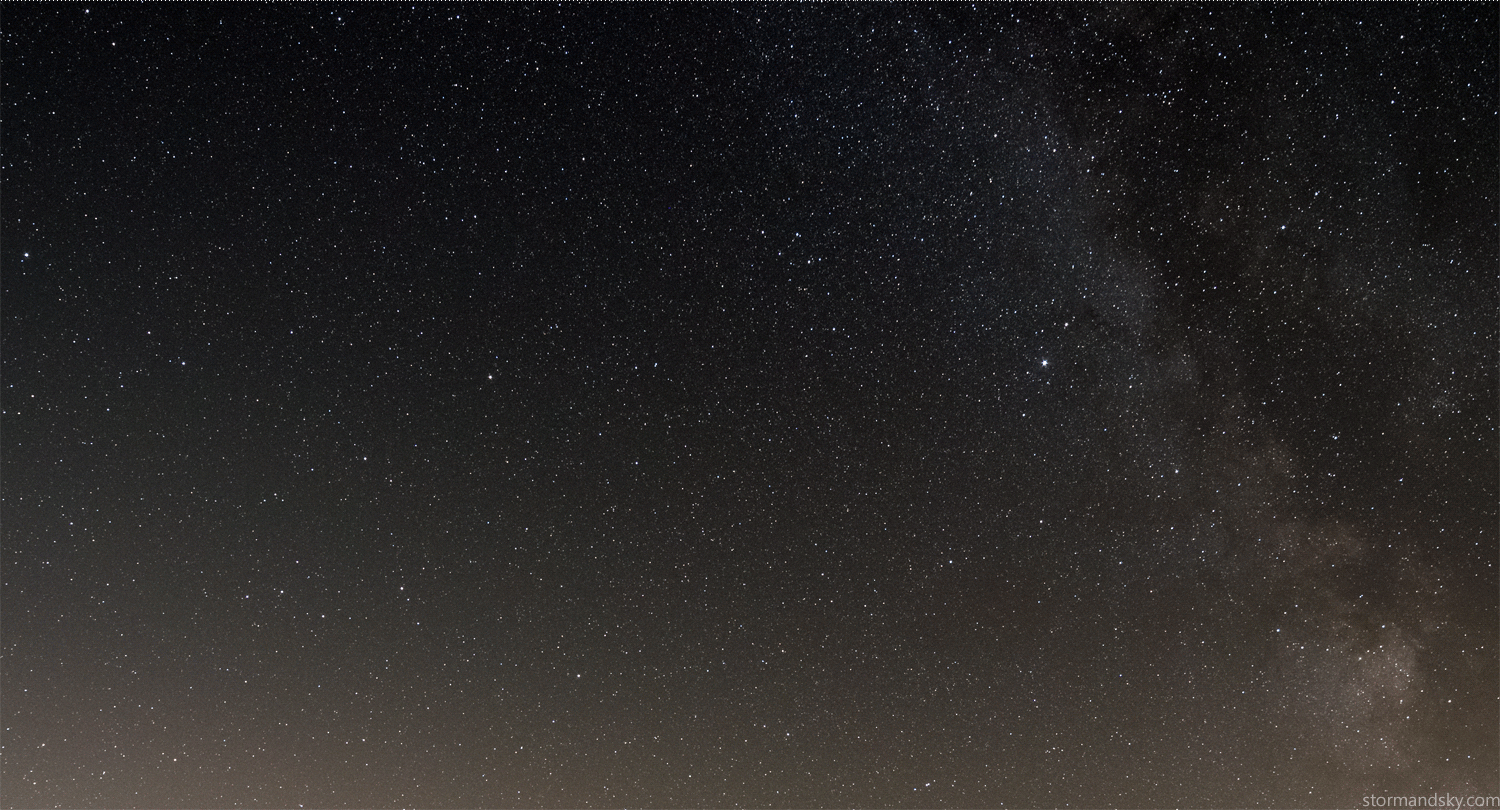
Here is a more light polluted area version example. This time with just 2 Samyang 24mm frames on top of each other.
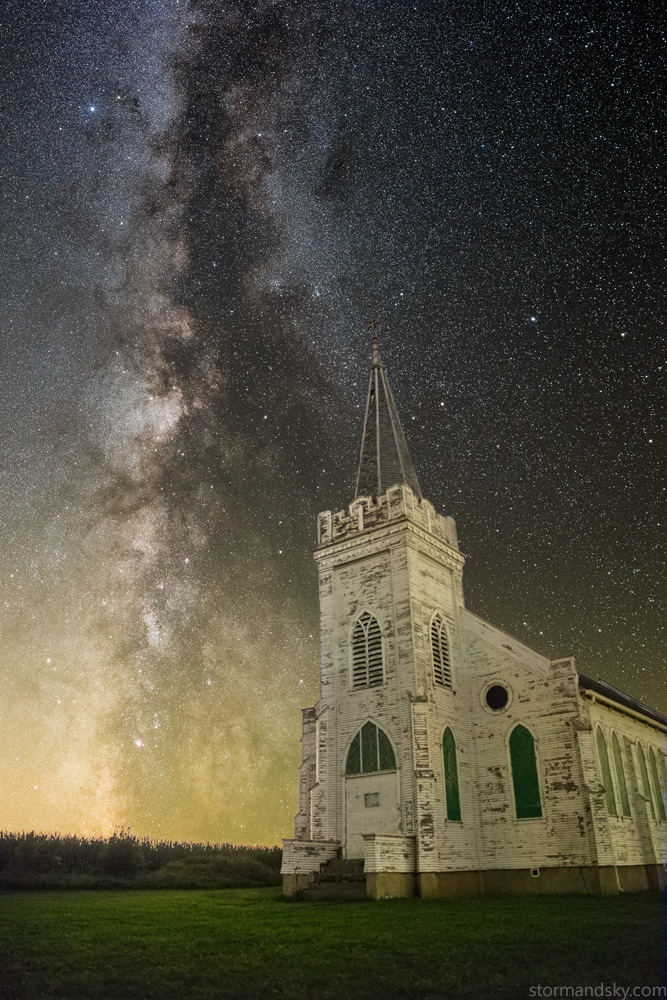
Then using that tracked Milky Way from very near this church to put in place of the non-tracked background of this shot. You really do sort of have to take the tracked shots from the same area. Because if I tried to use the Badlands tracked Milky Way here, well it'd be obviously too different without the light pollution. This was between Columbus and Norfolk Nebraska looking at Columbus light pollution. You can see you don't need a truly dark location like the Badlands to get tons of detail.
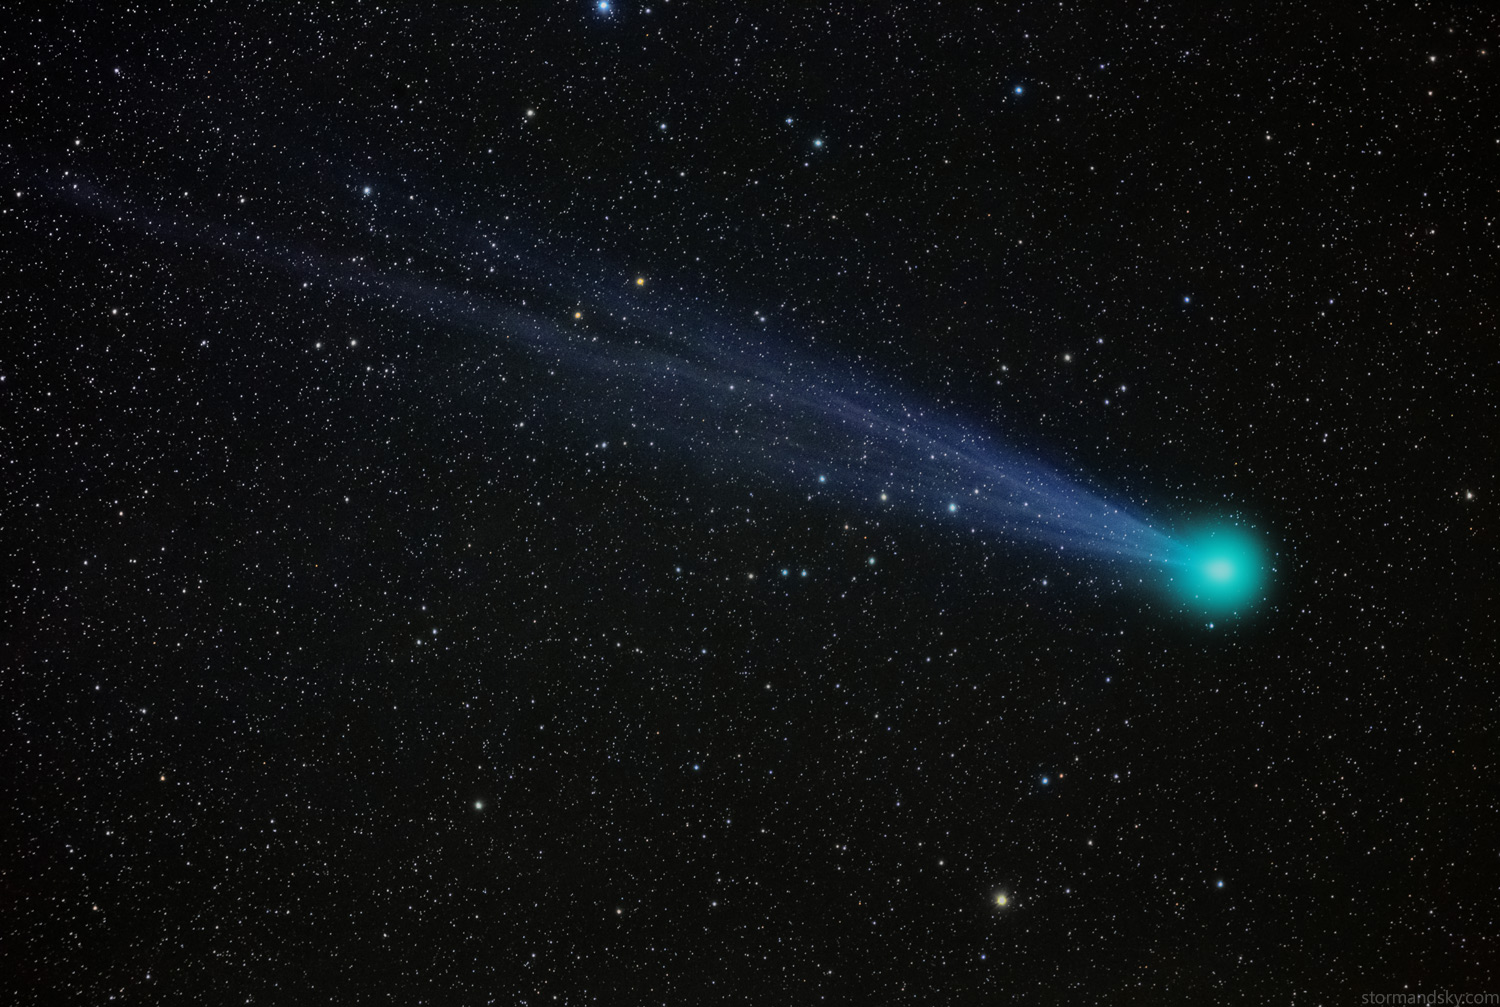
Here is Comet Lovejoy 2014 from the Celestron Advanced VX I took last year with a Canon 400L. I'll have to try the 400mm deal on this Star Adventurer and see how capable it is at that length. Going to guess just as good as my big mount was for that.