PHOTOGRAPHY TUTORIAL
Camera Settings To Post-Processing - Everything I've Learned In 10+ Years
Who:
I've been shooting since 2002, self-employed at it since 2004. Most of it done with Canon Rebels. I now use a Canon 6D. Often tempted by Nikon and Sony sensors. I use a mix of Canon, Samyang and Sigma glass. Really I'm just someone that likes to photograph the sky and has done so for a long time now.
What: 12 Videos - 8 Hours
I tossed all I know at this, starting from the beginning, the camera and settings, right on through just everything. There are a TON of things to pick up over the years, especially in post-processing. Look at the list below for a bit of an idea. If I could teach a day long workshop, this would be it.
Digital Download - $15
Get the 12 video, 8 hour product here in the red box.
If you are using an older version of Internet Explorer you may have to click HERE to get the buying option. (If the red box is empty.)
Processing


A person should shoot in RAW. A RAW starts off really flat. Secondly, many scenes are quite dynamic. While keeping brights in check, the darks just end up too dark and squashed. Combine these two facts and you are starting off from a rough place many times. There is a bit of an art in bringing things into place nicely. The shadow and highlight sliders are only so useful. They usually end up with ugly halo issues on contrast edges. Contrast is often lacking too, once brought out. Many headaches have been had here. I've gotten it down to a small science now. I can get most of what I need with just the RAW converter. But if one really wants to show off an image, there's a whole nother level inside Photoshop itself.
SECTIONS
1-CAMERA HANDS ON: 31 Minutes
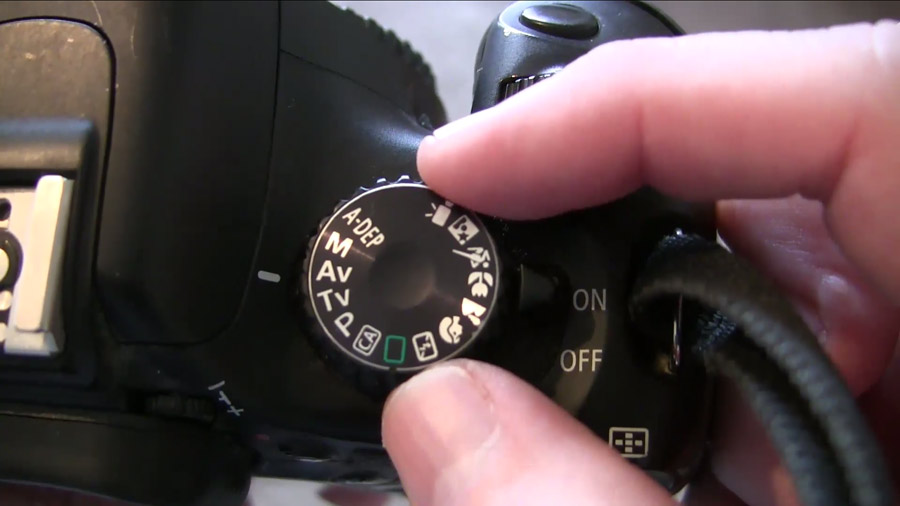
This is a basic camera section for the person just starting out, simply making sense of what happens and how and what one needs to know. I know so many that just stick to the auto modes for years and years. The options in the more hands on modes aren't that scary at all. It is super useful to use them and learn.
- Modes to Use and Modes to Ignore
- How Cameras Work. ISO, Aperture, Shutter Speed
- Exposure Offset
- Depth of Field Preview
- The Aperture Ratings of Lenses
- Sensor Cleaning
- Internal Settings
2-EXPOSURE SETTINGS: 22 Minutes
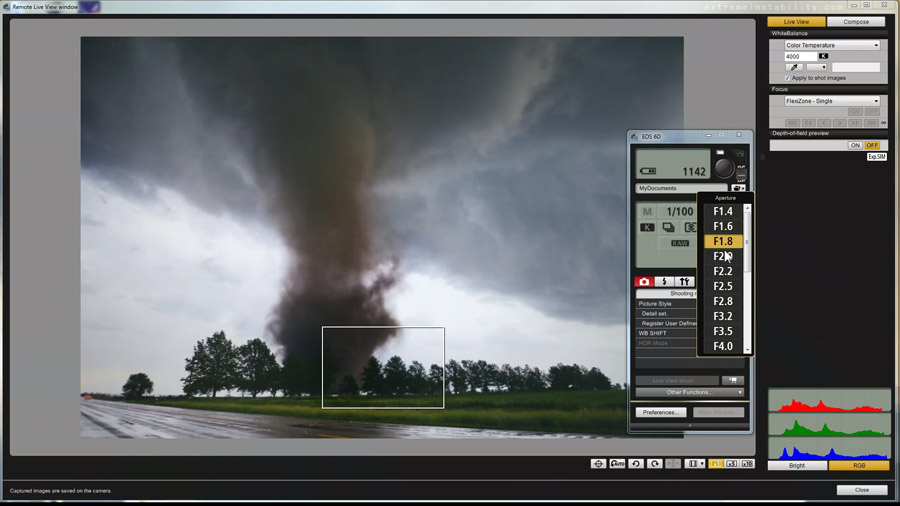
This section uses a live camera view explaining Aperture, Shutter and ISO speed relations and how they work together. What effects come into play as you use them. Many ignore these and use auto modes. You'll thank yourself later if you just learn them now.
- F-Stops, ISO, Shutter Speed and Aperture settings
- White Balance
- Camera Histogram
- Metering Modes
3-CAMERA SETTINGS, MISC: 1 Hour
This long section covers a multitude of issues related to the aperture setting, as well as many other camera related settings. By the end of these first 3 sections, using a camera via its direct simple settings, rather than auto modes, should make a lot more sense. As well as the why.
- Camera Settings
- Exposure
- RAW vs JPG
- Depth Of Field
- 8 Bit vs 16 Bit
- Full Frame vs Crop Frame Issues
- Aperture Related Issues
- ISO Noise and Exposure Noise
- Touch on Color Spaces and Focusing
- Lots on Lightning and Night Photography Settings
4-COLOR SPACES, BIT DEPTH, CALIBRATION: 19 Minutes
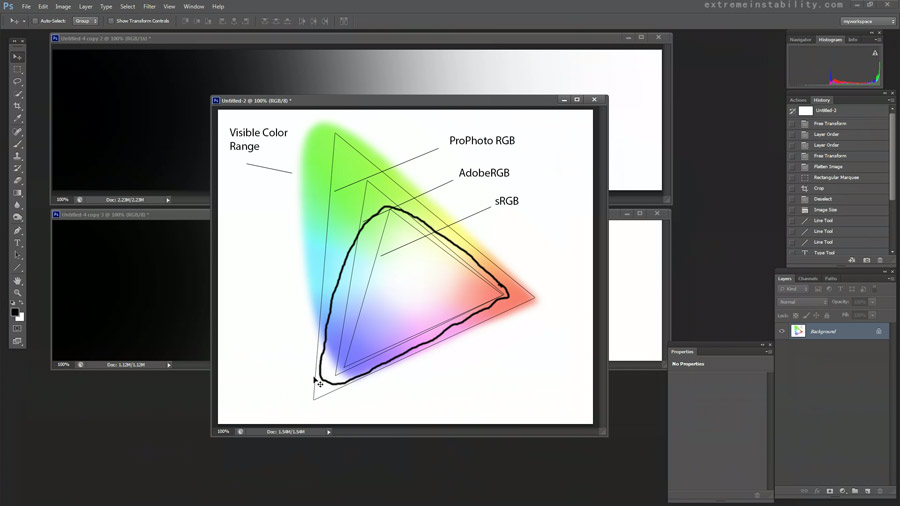
This section gives an overview of color spaces, as well as hammering home bit depth and resulting banding issues. Also using the histogram and basic talk on monitor calibration.
- Color Spaces Intro
- Banding and Bit Depth
- Histogram Combing
- Touch On Monitor Calibration
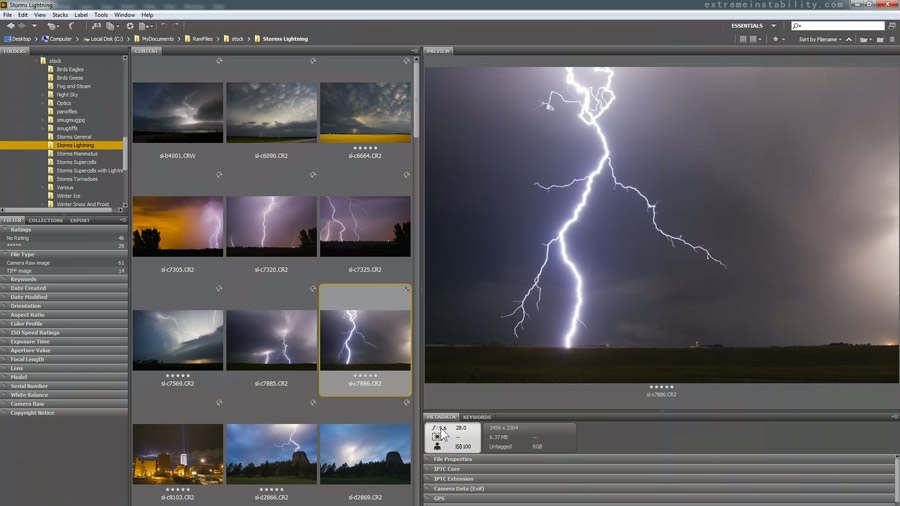
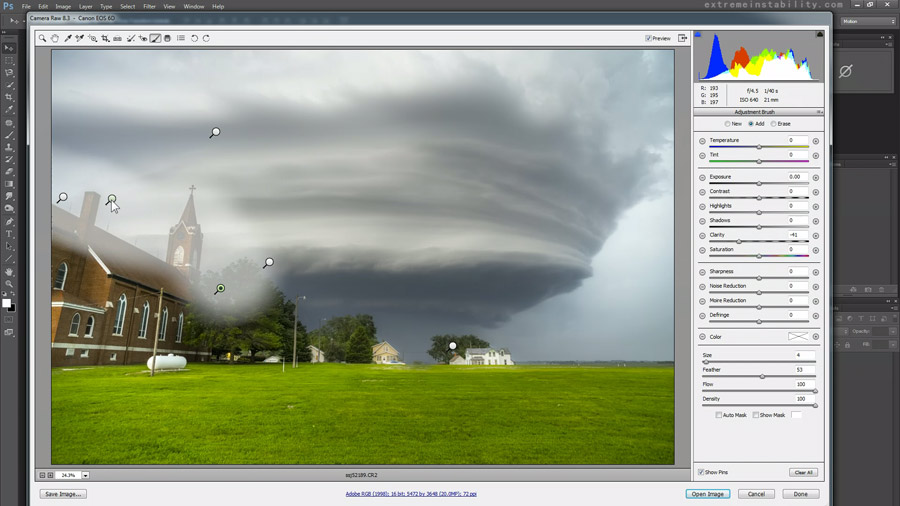
5-CAMERA RAW: 55 Minutes
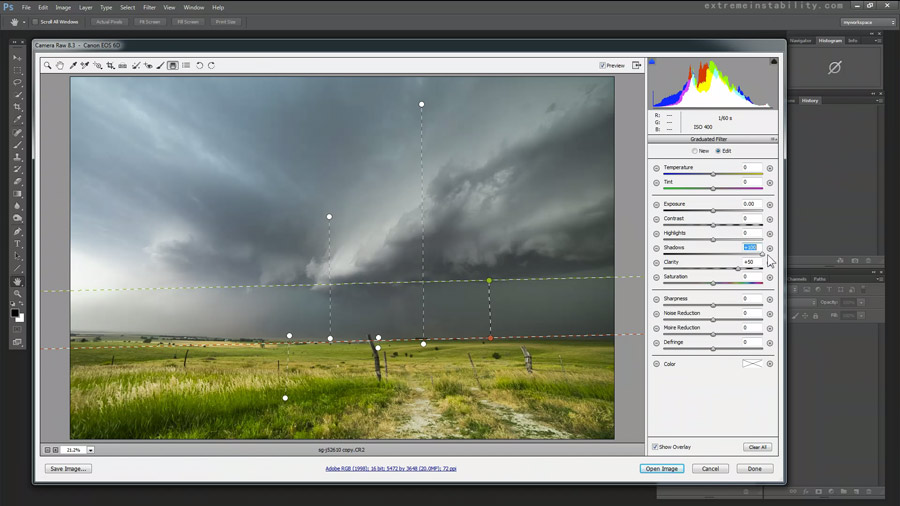
This long segment is dedicated to what there is to do in the Adobe Camera Raw converter and how and what I do. Lightroom and Photoshop raw converters are one in the same. Anymore I try to process my photos in there to the point I like them, without even needing to open them in Photoshop. I've made a logical order of settings for myself that makes most all images easy and fast to process.
- Camera Raw Settings - Too Many To List
- Removing Color Casts In Photoshop - My Way
- I Process Several Examples In A Later Segment In Camera Raw
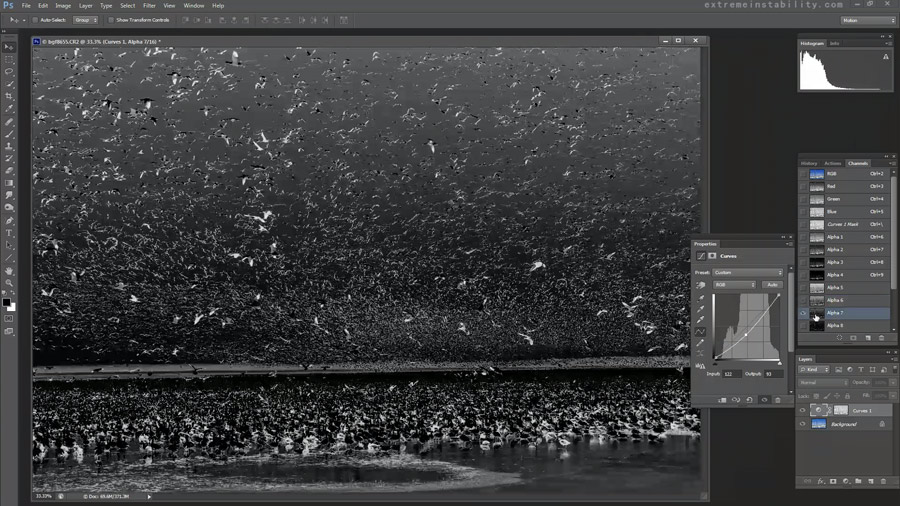
6-PHOTOSHOP LAYER MASKS AND SHARPENING: 34 Minutes

A lot is covered in this half hour segment. Primer on layer masks, which is the most powerful tool out there. Plus touching on several other features in Photoshop and sharpening methods.
- Photoshop Adjustments and Tools
- Layer Masks
- Blend Modes
- Shadows/Highlights
- Unsharp Mask/Sharpening Settings Explained
- Other Sharpening Options
- Noise Reduction
7-LAYER MASKS 2: 20 Minutes
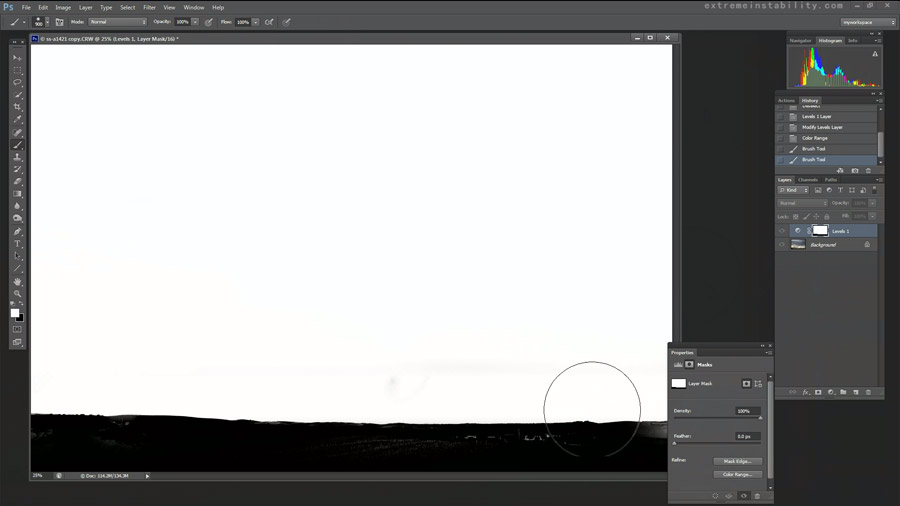
This section covers how to make much more detailed layer masks that fit the horizon lines perfectly. Get very natural looking masks for high dynamic range changes.
- Detailed Layer Masks
8-BANDING, PRINT SOFT PROOFING, MISC: 38 Minutes
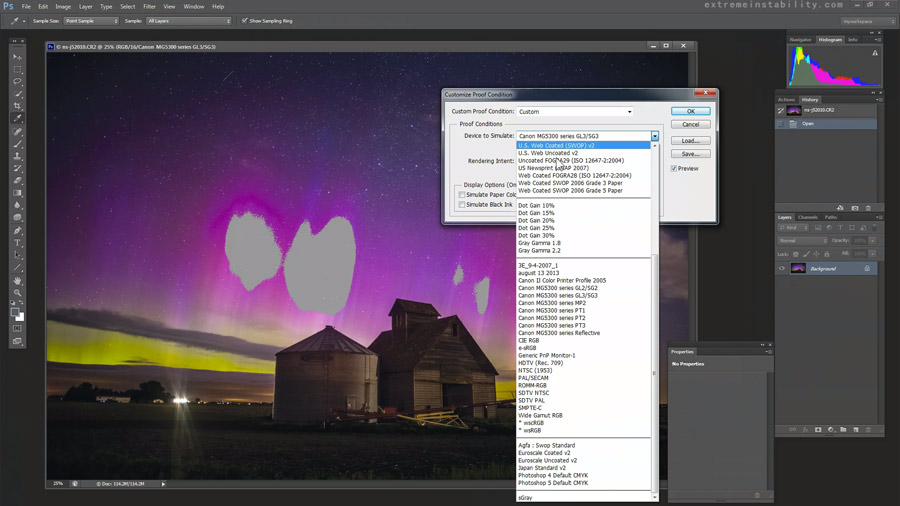
There is really quite a lot in this roughly 40 minute segment. It's basically on banding and print proofing in the first half. The other half I am just throwing anything and everything on here that I haven't included up to this point.
- More Photoshop Settings
- Smart Objects
- Hot Pixel Removal
- Fix/Prevent Print Banding
- Watermark Action
- Print Soft Proofing - Simulate Printer/Space
- Color Conversion Rendering Intents
- Other Targeted Adjustments In Photoshop
- Save As JPG Issue Example
9-LUMINOSITY MASKING: 20 Minutes
Luminosity masks creation and in use explained. Used right they can be very powerful. May take a bit of patience in learning to pick the right ones for the task at hand. I show how to make them and some use examples.
- Luminosity Masking Explained
- Make Your Own Action To Spit Out Luminosity Masks
- And To Delete Them When Done
- Couple In Use Examples
- Customize The Masks
10-PROCESSING EXAMPLES: 1 Hour 10 Minutes
This really long segment, over an hour, is devoted to workflow example images. Images starting from scratch and just gone through. Showing really how fast and easy it can be, once following a certain set and order of adjustments. The last 15 minutes I tossed in anything else I could remember that hasn't been mentioned anywhere yet.
- Several Images Workflow Examples
- Problem Soft or Noisy Images Processing
- Make Shooting Star/Meteor Stack Shots
- Other Night Shots
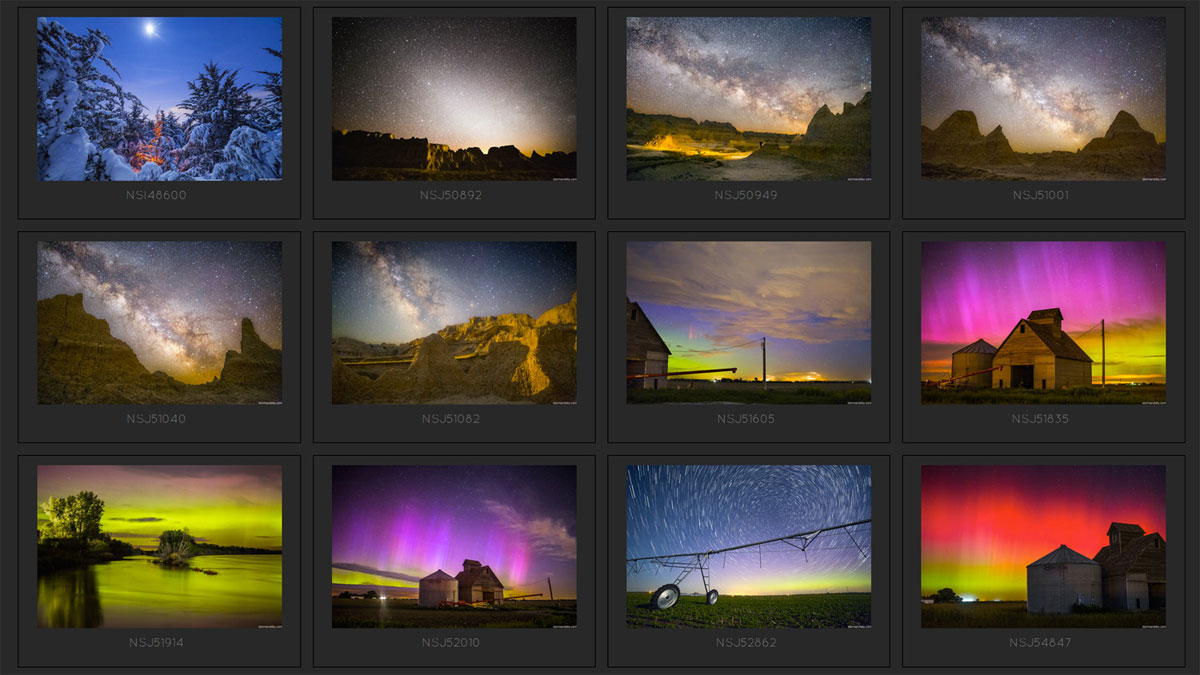
11-MILKY WAY PHOTOGRAPHY AND PROCESSING: 57 Minutes
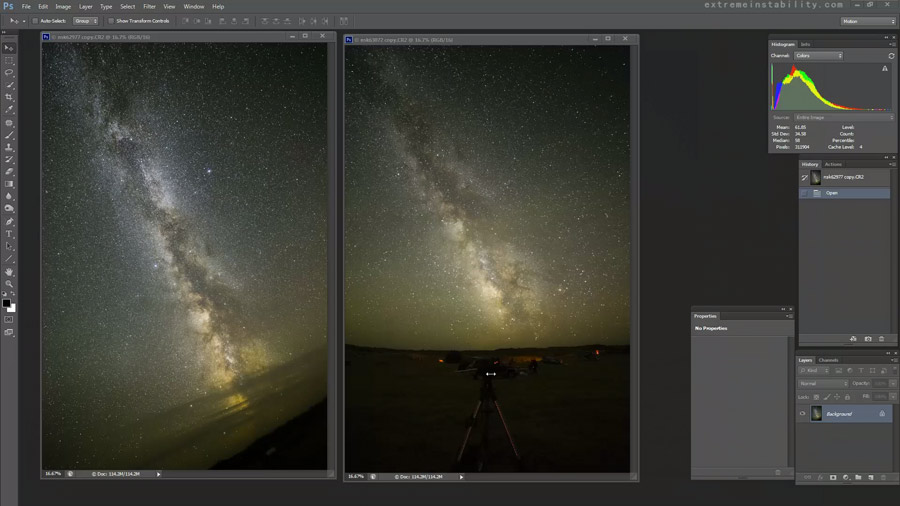
Shooting the Milky Way can be quite rewarding. Like much of photography, it's not that confusing and actually quite simple. I figured I should probably include a segment on it as well. I explain anything and everything I could think of.
- Milky Way Location - Where, When, How
- Camera/Lens Dependent Settings
- Processing/More Masking
- Tracked vs Not Tracked
- Compositing
- Average Stacking Noise Reduction
12-SINGLE PHOTO LOOPING ANIMATION - THESE: 43 Minutes

This was one of the most challenging things I've ever figured out on my own. It started with me seeing someone having done this to one of my photos, which they posted online. All I could do is look at it, know it's one single photo, because I took the thing and wonder how on Earth they made it a fluid loop. Days and days were spent being hugely annoyed over this one.
I partially accomplished it, but it wasn't at all "automated" and a real pain on the hands to do just one...which may look bad when done anyway. So I gave up and came back to it a few months later, adding more days and days of being annoyed.
Eventually I figured out a rather "automated" way to do them. The most labor intense part can be recorded in actions.
- Single Photo Looped Animation Creation
- Behind Object Looping
- Time Lapse Looped Animations
- Puppet Warp Looped Animations


